Introduction
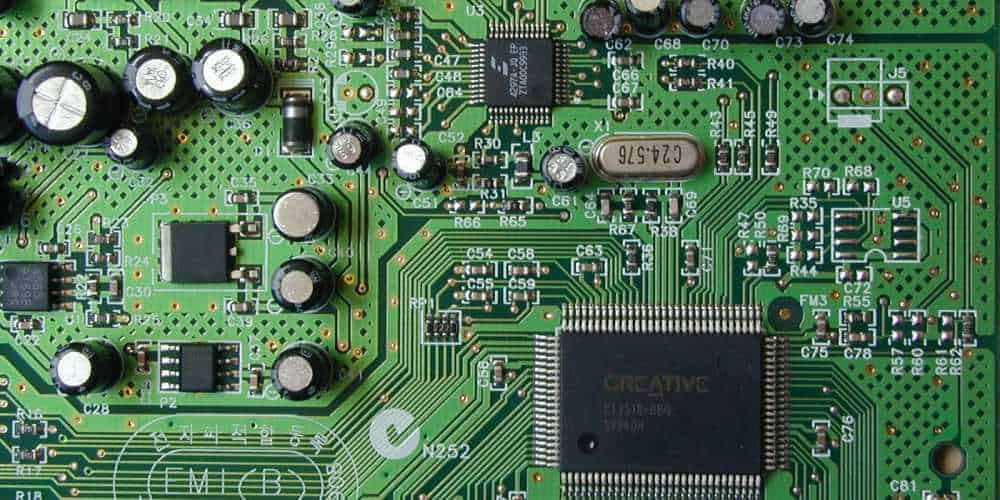
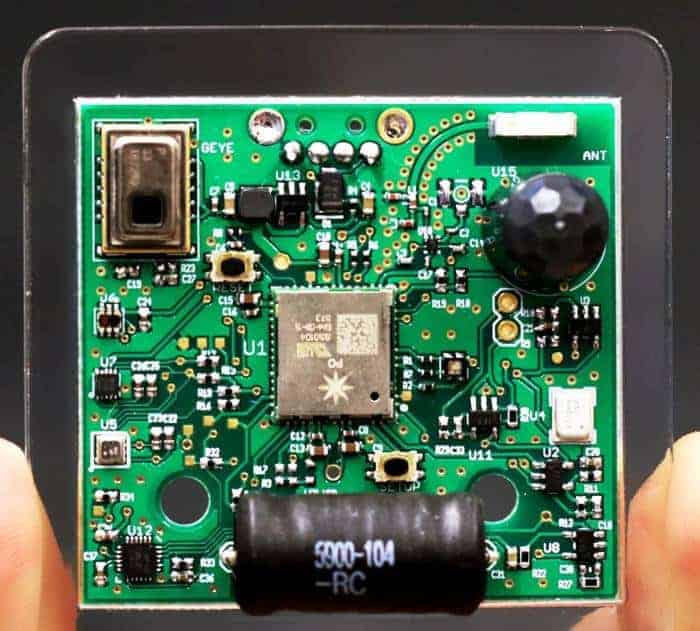
Electronic prototype assembly is the process of assembling a printed circuit board (PCB) populated with components to build an initial working version of an electronic product under development. It is a critical phase in the electronic product development cycle, occurring after initial prototyping on breadboards and before volume production.
This article will provide an overview of electronic prototype assembly, examining key aspects like assembly processes, components selection, roles of engineers, and advantages of using professional assembly services.
Electronic Prototype Assembly Process

The typical workflow for assembling an electronic prototype involves:
PCB Fabrication
PCBs are fabricated based on the schematic and layout files. For prototypes, small quantities of 5-10 boards are ordered.
Component Procurement
Electronic components required for the bill of materials (BOM) are sourced and procured. Both through-hole and surface mount components may be used.
Stencil Fabrication
A solder stencil is laser cut with patterns matching the solder pads on the PCB. This is used for solder paste application.
Solder Paste Application
Solder paste is printed on the PCB using the stencil to deposit precise amounts on each pad.
Component Placement
Components are accurately placed on the PCB according to the bill of materials using pick-and-place machines.
Solder Reflow
The boards pass through a reflow oven to melt the solder paste, completing solder joints and permanently attaching components.
Testing and Inspection
The assembled boards are tested for electrical connectivity and functionally to ensure the circuit works as intended.
Enclosure Integration
Additional mechanical parts like enclosures are integrated and the firmware loaded to complete the prototype.
Component Selection Considerations
Component selection is a key step in optimizing the prototype assembly process:
- Uses both through-hole and SMT parts – Allows flexibility for rework and modifications.
- Prioritizes easily available parts – Standardizes on commonly stocked components for easy procurement.
- Eliminates hard-to-source parts – Avoids highly specialized or long lead time components.
- Uses sockets for ICs – Enables quick swapping or replacement of ICs during testing.
- Adds test points – Test pads and headers to gain visibility into internal signals.
- Standardizes values – Uses same values and footprints for similar components (e.g. all 0.1uF caps).
Role of Engineers in Prototype Assembly
Engineers are involved throughout the assembly process:
- Design-for-Manufacturability – Use good DFM practices during PCB layout to ensure assemblability.
- BOM Generation – Create detailed bill of materials specifying all parts, reference designators, values, and part numbers.
- Assembly Partner Selection – Choose reliable assembly service provider.
- Build of Materials Review – Review part choices for availability, cost effectiveness, and manufacurability.
- Assembly Supervision – Provide guidance to assembly technicians during the build. Handle any issues.
- Testing and Debugging – Verify assembled prototypes and troubleshoot any issues before shipment.
Benefits of Using Professional Assembly Services
It is highly recommended to partner with a professional electronics assembly service provider to assemble prototypes rather than attempting in-house assembly for the following benefits:
- Efficient and consistent process – Automated assembly machines ensure consistency across boards.
- Domain expertise – Experienced technicians and engineers prevent issues and provide guidance.
- Time and cost savings – Avoid expense of buying assembly equipment and delays of learning the process.
- Quality assurance – Rigorous testing and inspection at multiple stages to ensure fully functional boards.
- Rapid turnaround – Swift assembly for fast concept validation and design iteration.
- Scalability – Seamlessly transfer the validated process to volume production.
Prototype Assembly vs. Volume Production
Here is a comparison between prototype assembly and full-scale production assembly:
| Parameter | Prototype Assembly | Volume Production |
|---|---|---|
| PCB Quantities | 5-10 boards | Thousands of boards |
| Process | Low automation, manual assembly | Highly automated assembly lines |
| Components | Through-hole, sockets, test points | Only SMT components |
| Testing | Basic functionality testing | Full system-level, environmental testing |
| Lead Time | 1-2 weeks | 4+ weeks |
| Cost per board | High, no economies of scale | Low due to optimized process |
Frequently Asked Questions

Can I hand assemble prototypes myself?
For 1-2 boards it is feasible to hand assemble using basic tools and skills. But for higher quantities, outsourcing is more efficient.
What are typical assembly lead times?
For prototypes, assembly lead times range from 1 week for simple boards to 4 weeks for complex, high-component boards requiring long-lead item procurement.
Does prototype assembly require a solder stencil?
Yes, a laser-cut metal stencil custom made for your PCB design is needed for accurate solder paste application.
What testing is typically done on assembled prototypes?
Basic electrical, connectivity, and functional testing. Environmental stress testing usually occurs later in product development cycle.
Can components be substituted during prototype assembly if needed?
Yes, engineers can request substitute components of equivalent specification if desired parts are unavailable or have long lead times.
In summary, the prototype assembly phase transforms a PCB design into the first incarnation of a working electronic product. A smooth prototype assembly process is key to enabling rapid design validation and iteration.


0 Comments