
Introduction to PCBs
A printed circuit board (PCB) is a board made of fiberglass or other insulating materials that provides mechanical support and electrical connections between electronic components using conductive tracks and pads. PCBs serve as the backbone of most electronic devices and equipment we use today. They provide the necessary electrical connections between components that allow the circuit to function.
The fabrication and assembly process of PCBs involves many steps, including design, prototyping, etching, drilling, soldering, inspection and testing. In this article, we will go through the key stages of PCB fabrication and assembly in detail. We will also discuss some best practices, standards and technologies related to modern PCB manufacturing.
PCB Design
The first step in the PCB fabrication process is the design of the board layout. This includes:
Schematic Capture
This involves creating a schematic diagram showing the logical connections between components and flows of signals. Symbols are used to represent the electronic components while lines indicate the wiring between components. Software tools like Altium, OrCAD, and KiCad are used for schematic capture.
PCB Layout
The schematic is then translated into the physical layout of traces and components on the PCB. The layout indicates the exact position and orientation of components as well as the routing of copper tracks to make the required connections. Some key considerations in PCB layout:
- Component placement for optimal signal flow and thermal management
- Routing tracks to minimize noise and crosstalk
- Following best design practices and fabricator’s design rules
Design Verification
The designed PCB layout undergoes verification through design rule checks and signal integrity simulations. This ensures manufacturability and minimizes errors before the fabrication process begins.
Gerber File Generation
The PCB design data is converted into a set of Gerber files that contains instructions for all the layers of the PCB fabrication. The Gerber files are generated in a format understood by PCB fabrication equipment.
Prototyping
Before manufacturing a full production run, prototypes are often produced to validate the PCB design. This helps catch errors early and avoids costly mistakes. Different prototyping techniques are:
- Breadboard – Used for early stage experimentation and proof-of-concept testing. Components are inserted into a plastic board with interconnected metal clips.
- Perf Board – A blank PCB with a matrix of holes is used to manually route connections with wires.
- PCB Proof – A small number of boards are fabricated using same process as final boards.
Prototypes are assembled with components and tested for functionality. Feedback from prototype testing can be used to further optimize the design before full production.
PCB Fabrication
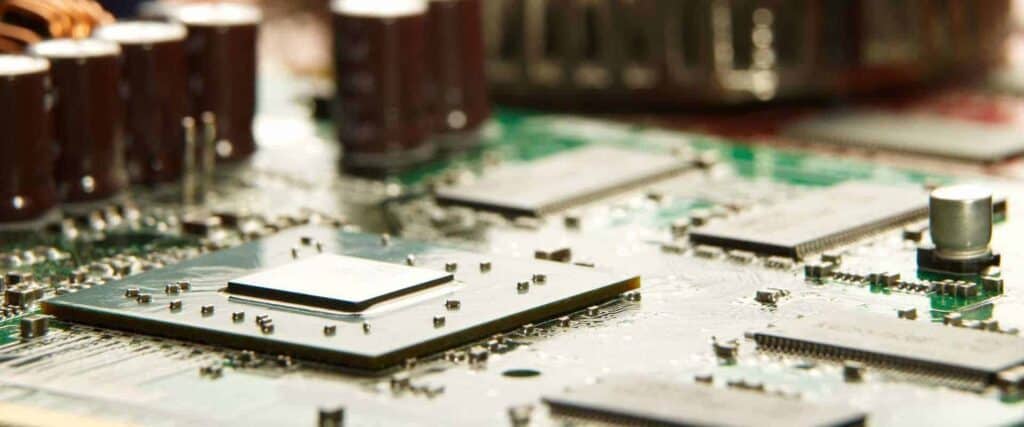
The PCB fabrication process consists of multiple steps that sequentially build up the layers of the board. The key steps are:
Lamination
Sheets of copper-clad laminate are glued together using resin to create a board blank. The number of layers depends on PCB complexity but is typically 4 to 12 layers.
Etching
The desired circuit pattern is imprinted on the laminate using a photoresist coating. The photoresist is exposed to UV light through a mask. The exposed or unexposed part (depending on photoresist type) is dissolved, revealing the copper layer for etching.
Etching
The board is dipped into an etching solution, usually an acid, which eats away the exposed copper and leaves only the protected tracks behind. Ferric chloride and ammonium persulfate are common etching solutions.
Drilling
Holes are drilled at locations where components will be mounted. High speed CNC drills are used to achieve the required accuracy and hole sizes of around 0.3mm to 3mm.
Plating
The walls of the drilled holes are plated with copper to make them conductive and provide connections between layers. Electroless plating with chemical deposition or electrolytic plating can be used.
Solder mask application
A layer of epoxy-based paint (usually green) is applied to protect the copper tracks from shorts and oxidation. The solder pads remain exposed.
Silkscreen printing
Text like part numbers, labels and board outlines is printed on the solder mask to identify components and help with assembly and troubleshooting.
Surface finish
An ultra-thin coating of solder, nickel/gold, or other finish is applied on the exposed soldering pads to facilitate soldering and prevent oxidation.
PCB Assembly
After fabrication, electronic components must be assembled and soldered onto the PCB. This is done using two main methods:
Through-Hole Assembly
- Components with wire leads are inserted into holes and soldered from the opposite side.
- Dominant technology until recently, but being phased out for SMT.
- Well suited for high power/high voltage components.
Surface-Mount Technology (SMT)
- Components are placed directly on surface pads and soldered.
- Smaller component sizes with no lead wires.
- Automated assembly, more miniaturization.
- Currently the most widely used PCB assembly method.
SMT Assembly Process:
- Solder Paste Application – Solder paste is applied on pads using stencils.
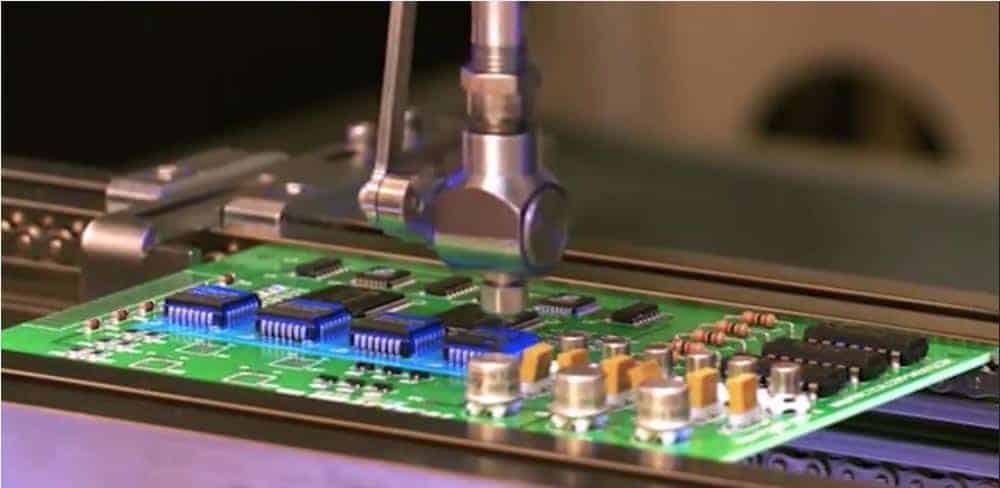
- Component Placement – Pick and place machines position components on pads.
- Reflow Soldering – Boards pass through ovens to heat up and melt solder paste.
- Inspection – Optical inspection using AOI systems.
- Testing – Electrical testing and functional test of assembled boards.
- Conformal Coating – Protective coatings applied for rugged environments.
PCB Manufacturing Standards
Adhering to industry standards during PCB fabrication and assembly ensures quality and reliability. Some key standards are:
- IPC Standards – The Association Connecting Electronics Industries has a wide range of PCB standards covering materials, design, fabrication, assembly and testing. These include standards like IPC-6010, IPC-A-610, and IPC J-STD-001.
- ISO Standards – International Organization of Standardization standards provide consistent terminology, test procedures, quality benchmarks, and certification processes. ISO 9000 family focuses on quality management.
- JEDEC Standards – Standards for semiconductor engineering and solid state electronics cover PCB design, material and components, among other topics.
Latest Trends in PCB Technology
Some advanced PCB technologies that enable smaller, faster, and more reliable electronic devices are:
- HDI PCBs – High Density Interconnect with thinner traces, laser drilling, stacked vias, microvias. Allow increased component density.
- Rigid-Flex PCBs – Combines rigid and flexible boards. Enables 3D, dynamic flexing and embedding of components.
- Chip Embedding – Techniques like FOWLP and fan-out wafer-level packaging embed chips into PCB substrate. Reduces device footprint and improves electrical performance.
- 3D Printing – Additive manufacturing techniques like stereolithography used to fabricate custom and low-volume complex PCBs.
- Aluminum PCBs – Replacing FR4 material with aluminum or aluminum composites for better thermal conductivity.
PCB Fabrication and Assembly FQA
Here are some frequently asked questions about PCB fabrication and assembly:
Q: What are the typical lead times for PCB manufacturing?
A: For standard PCBs built with established fabrication processes, the lead times range from 2 to 10 days. For advanced PCBs using newer technologies, the lead time can be 3 to 4 weeks. Prototypes usually have longer lead times around 2 to 3 weeks.
Q: How are PCB layers connected electrically?
A: PCB layers are connected through plated-through holes called vias. Signals on an inner layer can pass to the outer layer through the via barrels. High density PCBs also use blind and buried vias.
Q: What is the difference between leaded and lead-free soldering?
A: Leaded solder contains lead while lead-free solder alloys use metals like tin, copper and silver. Lead-free soldering provides environmental benefits but requires higher soldering temperatures.
Q: How are BGA packages soldered to PCBs?
A: Ball grid array packages use tiny solder balls instead of leads to connect to PCBs. Reflow soldering melts the balls to attach the BGA to the board. X-ray inspection is used to check for faults under the package.
Q: What are some common PCB finishing and coating options?
A: Common finishes include HASL, immersion silver, immersion tin, and ENIG. Coating options are acrylic, urethane, silicone, paraxylene, and epoxy. The finish and coating provide solderability, protection, and improved aesthetics.